Stagecraft III Creative Connors Automation project, under the direction of Larry Cook.
The project was unable to be bolted in place, so bricks were used to weigh it down, and maintain tension. It was designed to go in a room with carpeting (as shown) without damage. In an ideal situation, the track/cabling would be hidden under a false deck.
- A view of the entire stage left setup. The project was unable to be bolted in place, so bricks were used to weigh it down and maintain tension. It was designed to go in a room with carpeting (as shown) without damage. In an ideal situation, the track/cabling would be hidden under a false deck.
- This was taken during the install of the Stagehand module, the PC case in the top left of the picture. The project was unable to be bolted in place, so bricks were used to weigh it down, and maintain tension. It was designed to go in a room with carpeting (as shown) without damage. In an ideal situation, the track/cabling would be hidden under a false deck.
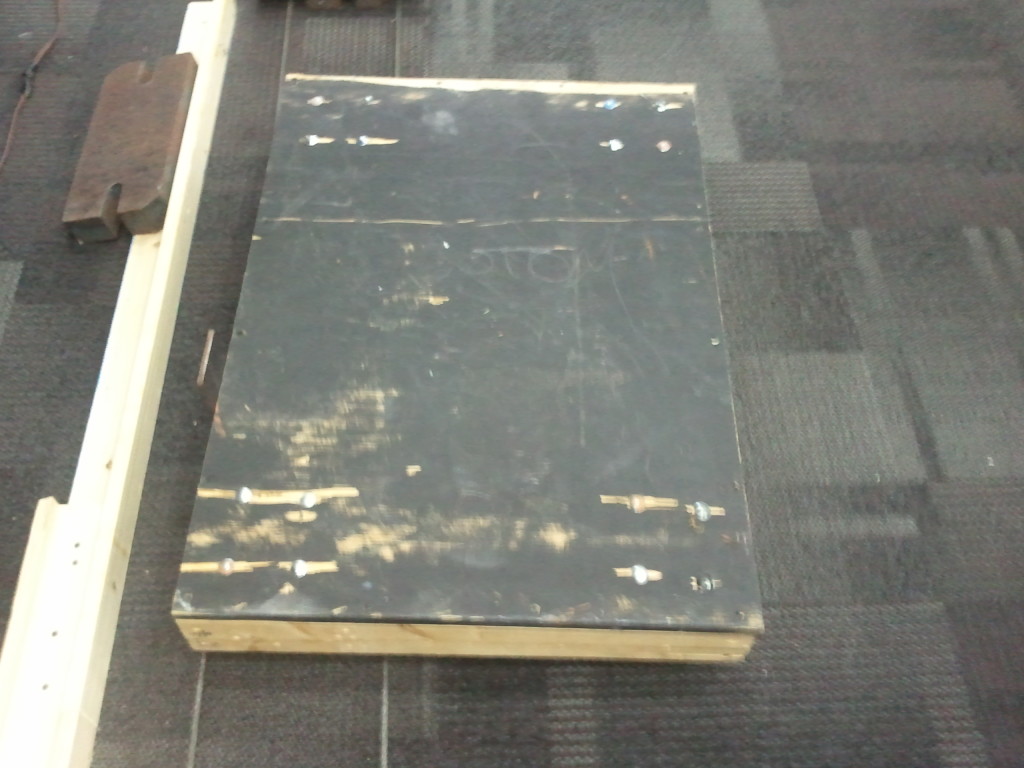
- Wagon
- This is the tensioning sheave stage left, at the end of the track. Note the cable for the forward limit switch at the far end of the movement.
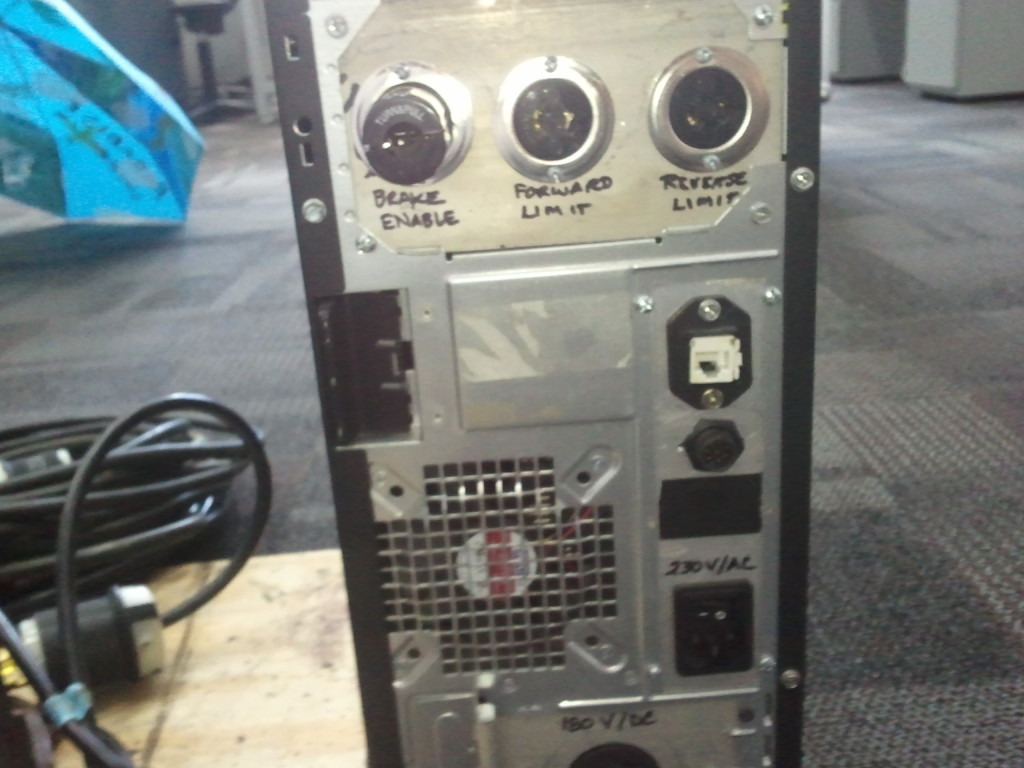
- Larry Cook’s Homemade Stagehand.
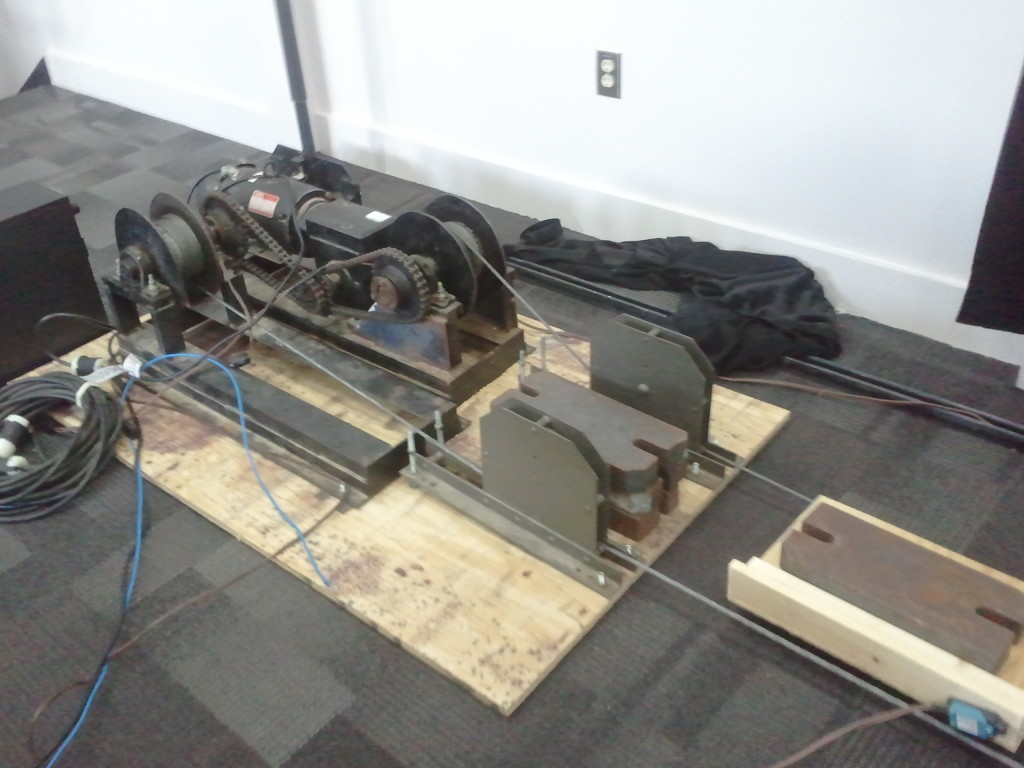
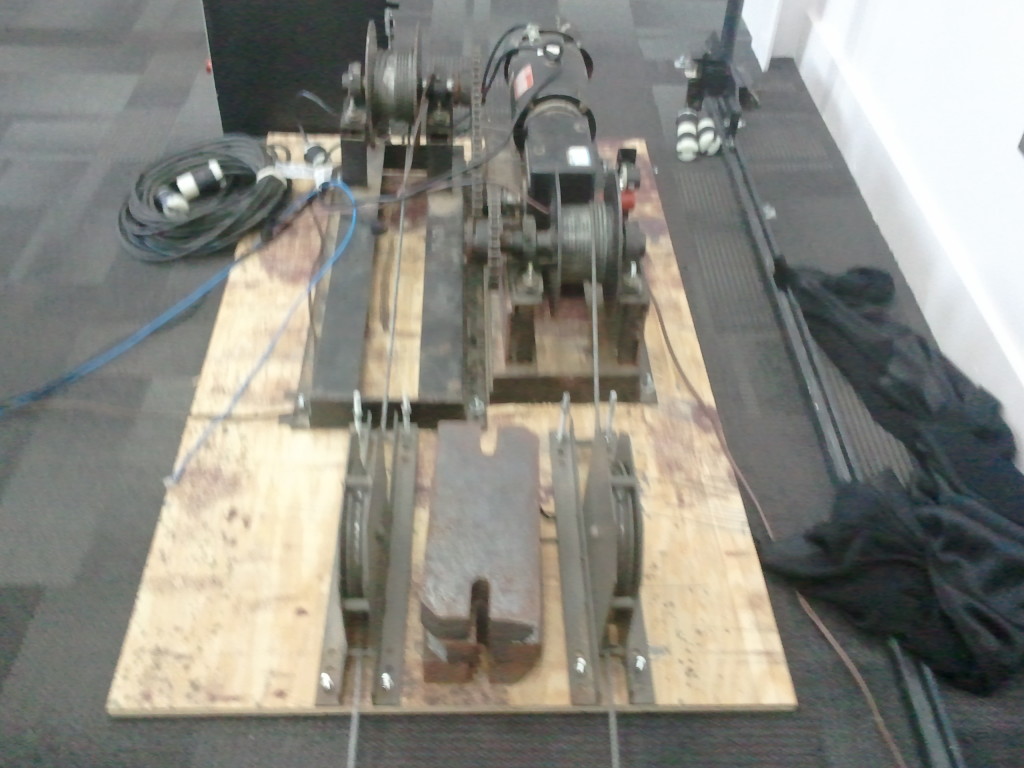
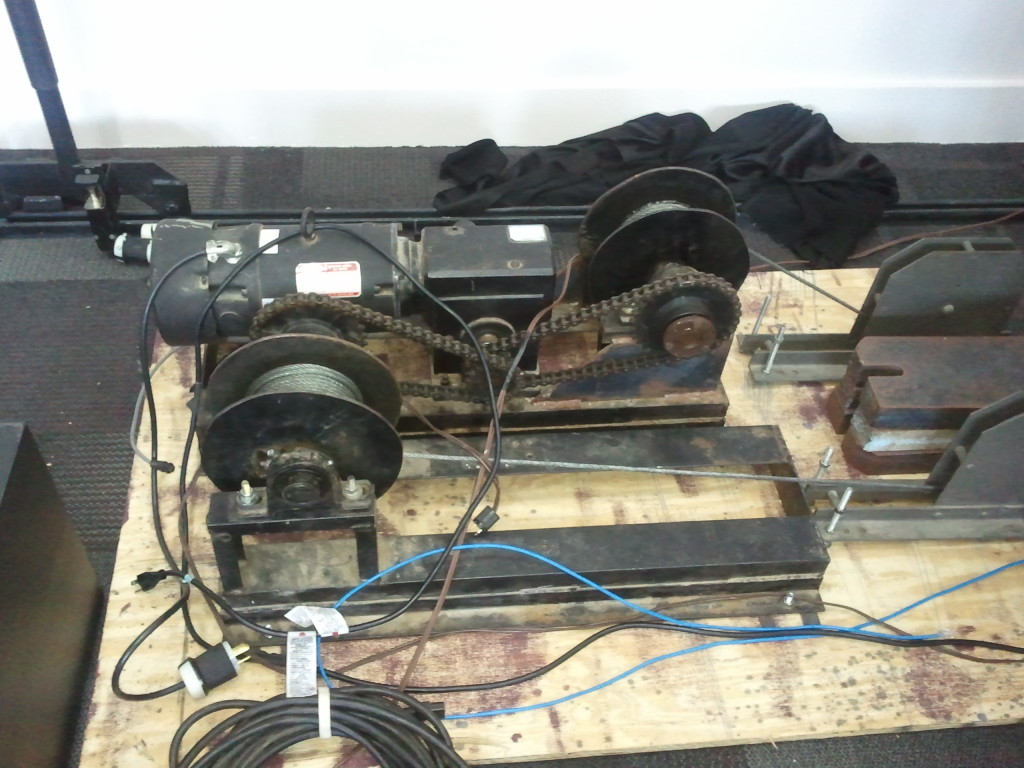
- This is the 10amp DC motor we had on hand, connected to the tensioning system. (Cabling was cleaned up after the motor was installed.)
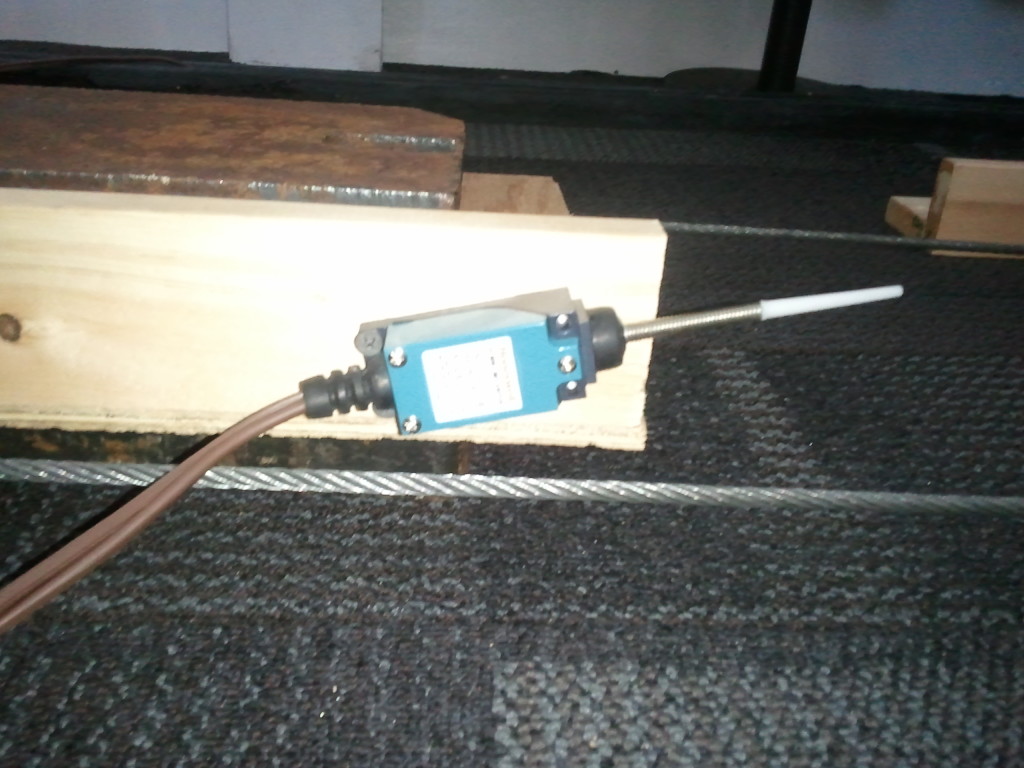
- This limit switch was configured to be open when active, so if anything cut the cable, or if the wagon exceeded it’s limit, the circuit was opened, and the Stagehand engaged the brake/deactivated the motor.
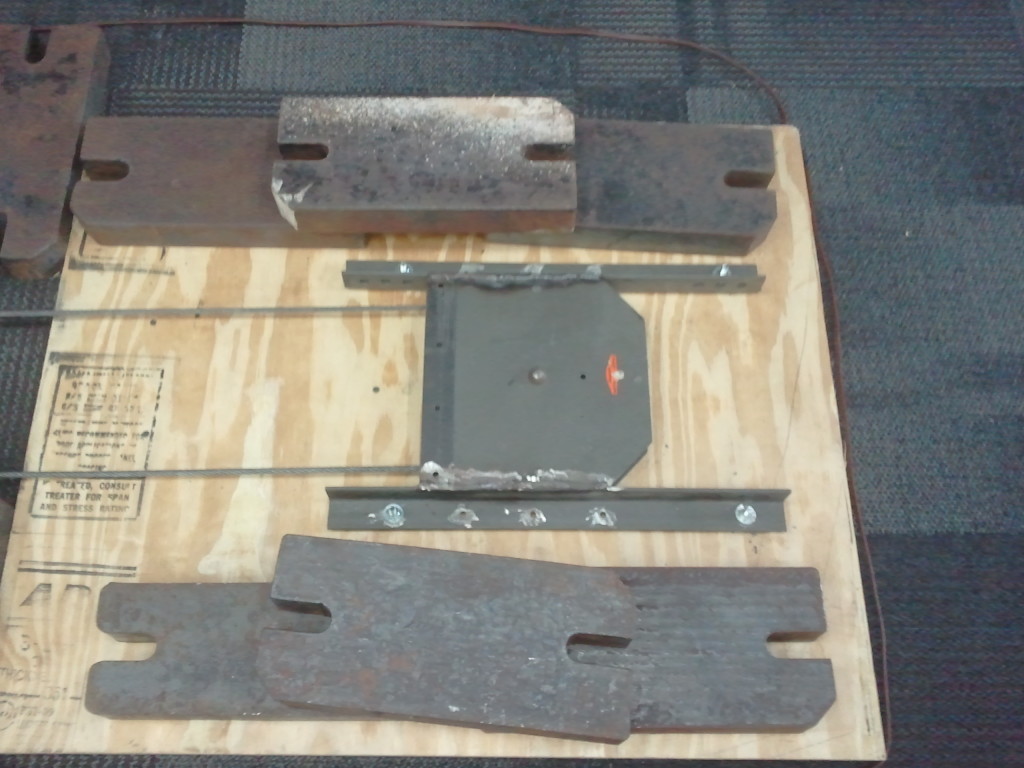
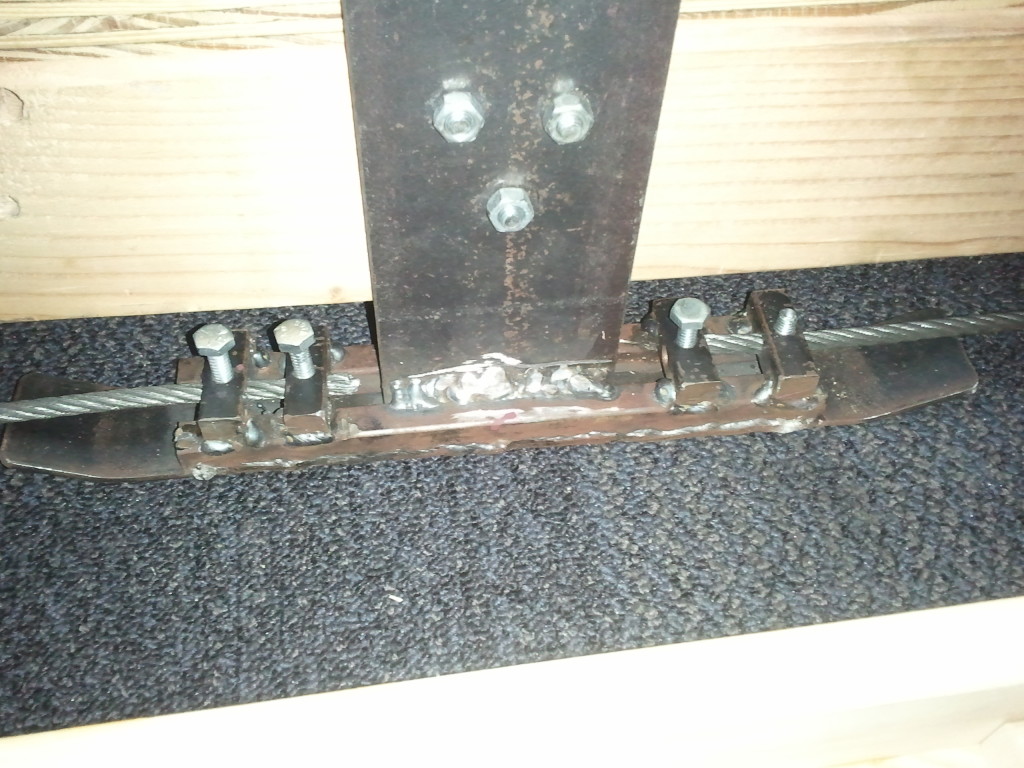
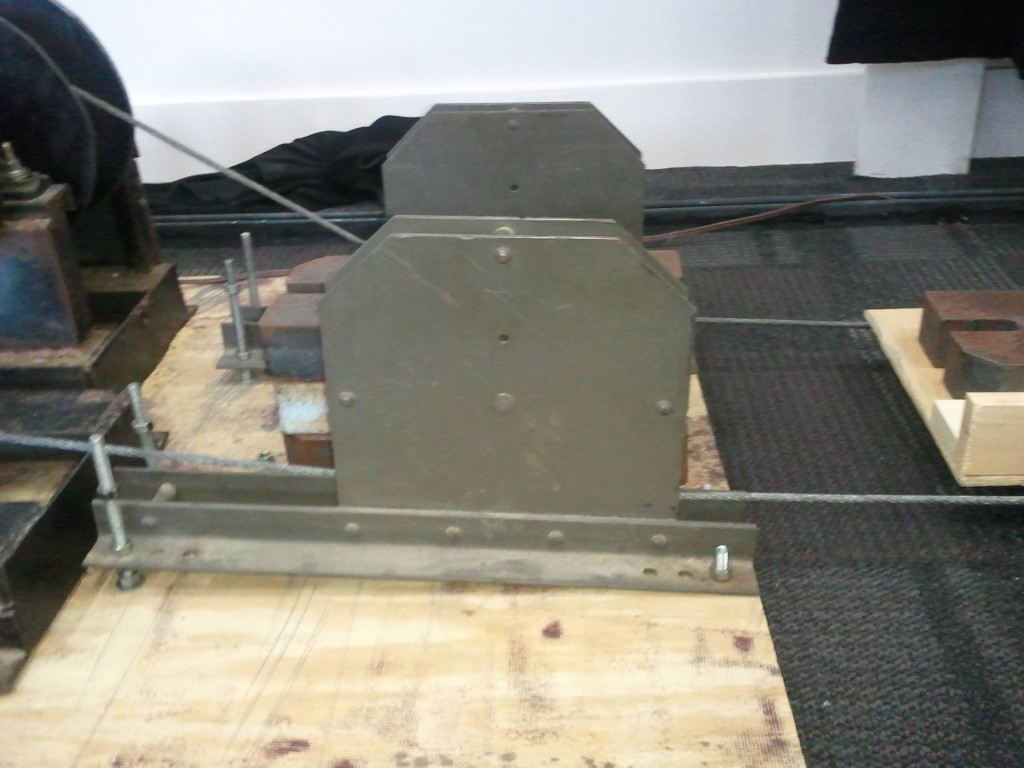
- This knife and dog assembly was created as a replacement for the original. All pieces, except the bolts and cable, were MIG welded together, and the knife was subsequently bolted to the wagon. The slide at the bottom was covered with teflon.
- A close-up of the tensioning on the incoming side. To the left of this photo is the incoming spool. In the background is the output. To the right is the travel guide and the backwards limit switch.

